artfully distressed

pictures of what I create and the places, people and ideas which inspire my art.

Friday 8 March 2013

Andy Skinner book of secrets 'feminine' version

Okay, not exactly 'girly' but I made this version of the book of secrets using swirls and a butterfly as an alternative to the original version with cogs which had an industrial feel. I have aimed to achieve the look of aged copper patina (its difficult to get a true reflection of the colour here). I'm pretty happy with it. So I now have a pair of these boxes. What I think I will do with them is make 2 mini books to fit the drawers. These mini books will contain old family photos and identify the different people, who they are, perhaps basic info like their date of birth, occupation etc. I'm going to use the original box for the men and the new 'feminine' box for the ladies. That's the idea in my head anyway. We will see what happens. :-)


Thursday 7 March 2013

Butterfly birthday cards

I made these cards for a couple of February birthdays. The stamps are by Indigo Blu - (Wild Meadow and Aloysius - Happy Birthday) and they are coloured using distress inks. I usually just swipe my pads on my craft mat, spritz with water and use a paintbrush, love that technique, so simple.


Wednesday 6 March 2013

Felted notebook cover

Last post I talked about making a piece of felt using the techniques described by Moy Mackay in her fabulous book. This is what I turned the piece into - a notebook cover decorated with free machine embroidery and beading for Mum's birthday present. I used ribbon stitched to the back cover to make a tie closure. (The whole process, felting and making the book cover, was done the same day as despite being quite thick the felt dried quickly on a radiator). 


Detail of the machine embroidery and beading

 
Moy's method starts with a base layer of white fibres and I loved the look and feel of the reverse so much that I decided not to back the felt on anything so you can see the stitching.


For the notebook pages I cut some cartridge paper to size, folded it and pierced holes through and then stitched the pages in.
 

Saturday 2 February 2013

Felting

Had a lovely night last night with a couple of friends - chinese takeaway, few drinks and a chick flick. :-) After a lay in, bacon butty and a couple of paracetamol I thought I'd spend a few hours crafting. Bliss. So this afternoon I took over the kitchen and had a go at some felting.


I absolutely love this book by Moy Mackay and would love to be able to produce felted pictures even a fraction as good as her designs. I thought I'd follow her instructions from start to finish and learn the process she uses as it's slightly different to what I've done before.

 
I had a go at carding to mix colours, it worked okay but I definitely need to practice getting the fleece off the carders, it sounded easy but of the 5 or 6 times I tried once it worked perfectly and the other times not so much. Practice might eventually make
perfect I guess?


After laying out the fibres this was my piece before felting:


I used Moy's tip for applying the soap - mix soap flakes and warm water in a plastic bottle and make holes in the cap so you can sprinkle the soapy water over the picture.
 
 
and scrunched up bubble wrap to rub over the picture
 
 
then a ribbed roller

 
then rolling in the bamboo mat


Here's the finished piece, I'm really pleased with it, just got to dry it out then I think I'll do some free machine stitching over it and hopefully make it into a notebook cover. It's going to be a present for someone special (Mum - hope your not reading this or at least not until after next weekend!).


Andy Skinner book of secrets

 
I signed up to Andy Skinner's online class to make the 'Book of Secrets' a few months ago. I was really pleased with the finished result and apparently so was my brother as he asked me to make him one. So I have been a busy bee this last couple of weeks and here is my second book of secrets all finished & ready to give to him tomorrow. Hope he likes it, I can't help but think it's better than the first one I made, I love the way the cogs on this one interlink. But I'm very attached to the the first one as it was my first experience of trying out the amazing techniques of Mr Andy Skinner. I've just signed up to his 'Book of Ruination' online workshop which starts in march. Can't wait!


Sunday 27 January 2013

Silk paper making

 
Well, it's a great time of year to be a crafter, gives me an excuse to stay indoors when its cold and snowing. I'm glad the last snow has all gone here after it rained last night. It was really strange at work on friday night in the early hours of the morning watching it snow, then rain, then snow, then rain again. Make your mind up! Unfortunately, although the rain melted quite a lot of the snow that meant it was really slippery in the morning. I have to say I love the snow - on fields and trees - just not on the roads. My other half has had 1 snow day already when it was too bad to risk driving. I'm lucky enough to live not too far from work. Now that the snow has gone I have been out bulb spotting in the garden. I planted crocus and fritillary bulbs in the lawn as an experiment and I can just see them coming up so can't wait to see that little show of colour.
 
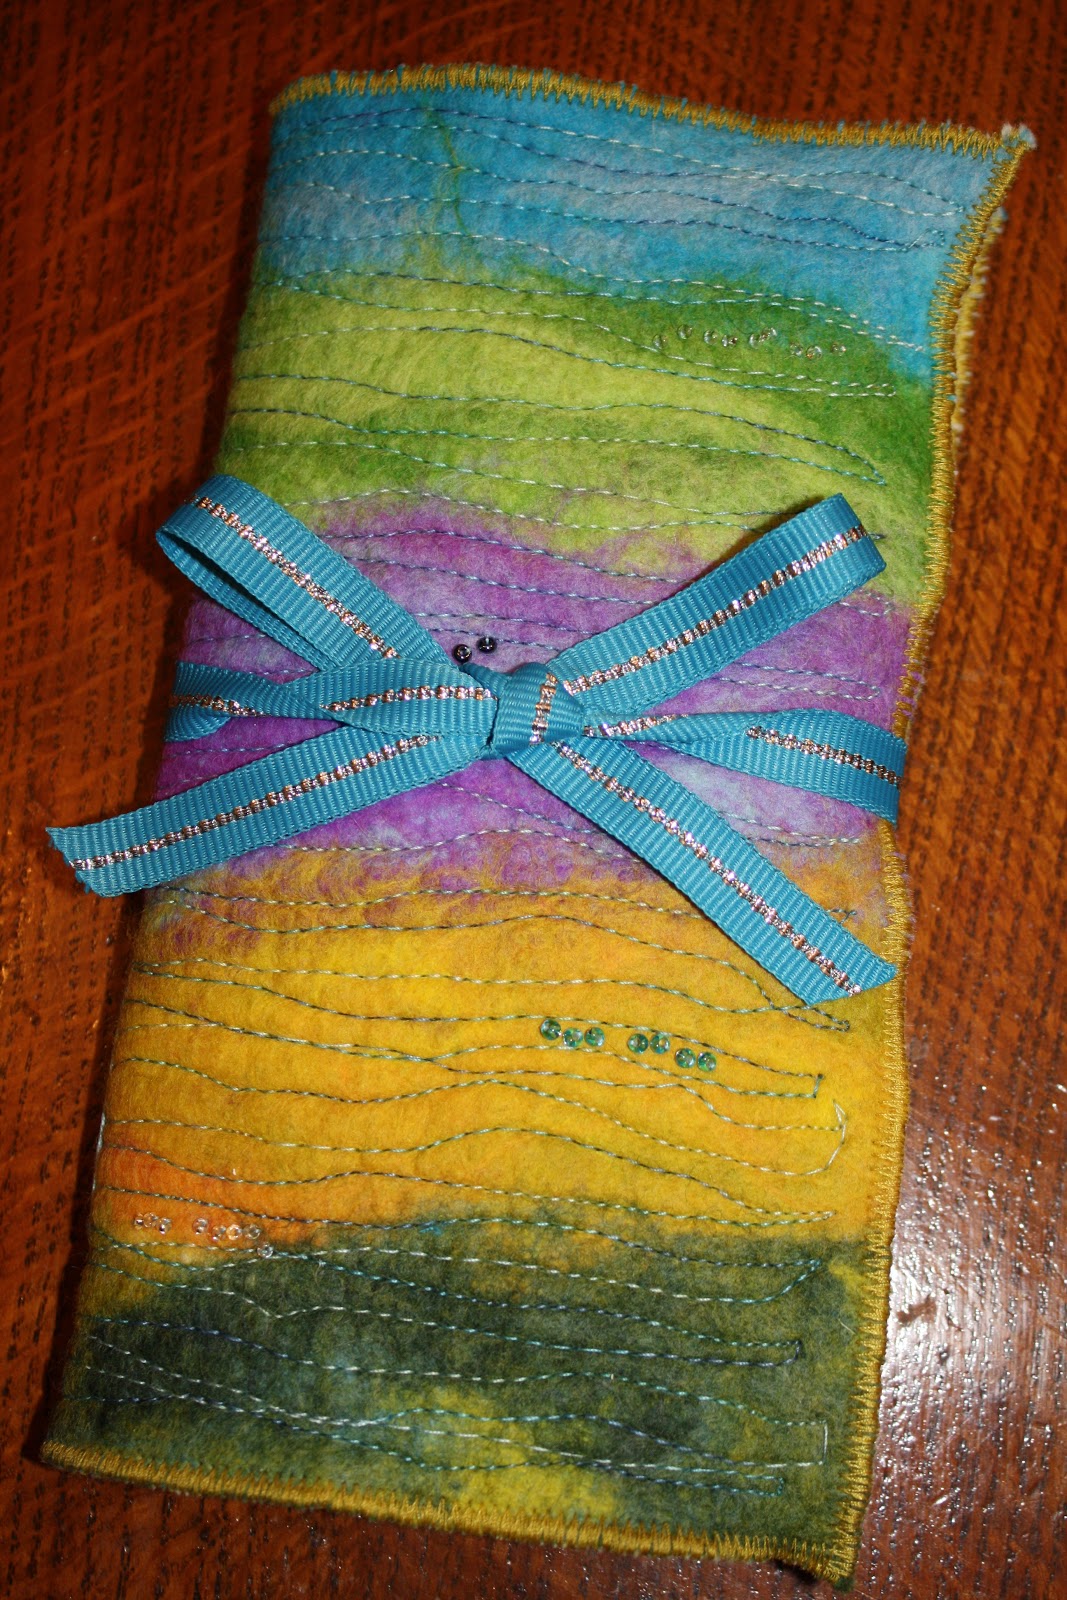
I thought I would share some of my work with silk paper which I started last year. I learnt how to make silk paper before christmas at a local community craft group. We used both the dry iron method and the wet (wallpaper paste) method and both gave fab results. I used the dry method to make a journal cover for my textile journal. Here's a close up showing the detail:
 

and the whole cover:

 
There are pieces of dried rose petals and lavender embedded in the paper with various thin threads, angelina fibres, flower details from net curtains and silver skeleton leaves.
I loved the dry method because it was so quick to do and not at all messy. Once you have made your layer of silk fibres and any embellishments on baking parchment you spray it with water (or a water based ink, I used antique gold colour spray) to activate the gum in the fibres, place another sheet of baking parchment over the top and iron it.
 
I stamped on the paper with a large flower stamp in gold ink to add more interest and mounted the paper on iron on vilene to stabilise it. To make sure all the embellishments stayed put within the paper I used free machine embroidery. I first outlined the skeleton leaves in silver and the flowers in gold. Then I went over the rest of the paper just doing loops. I started off with purple thread (bottom left corner) but when the bobbin thread ran out I thought I'd continue in cream and I love the effect this gives just having one section in purple.  
 
In class I tried lots of different colours and embellishments and I've put all these in my journal to inspire future ideas.


I used the wet method with wallpaper paste to make a background for an 8x8 inch summer inspired piece for a challenge set by a textile group I belong to. The poppies were inspired by a piece in stitch magazine but I've used different techniques to make my picture. 
 
 
The silk tops used for the wet method have a lovely sheen to them so although its more messy and takes longer I really love this method. I don't think its easy to see on the photo but using netting also gives a slight texture to the finished piece from the pattern of the netting. I incorporated lots of threads of various colours into the paper to give the background and once again mounted on vilene and secured everything with free machine embroidery. Then I hand stitched on the lovely ribbon with leaves all along it and the poppies which are made of 2 colours of cotton.  I particularly love the poppy stalks which are recycled bag handles from brown carrier bags couched on by hand.
 
 
If you haven't tried silk paper before its great fun and you can get some very interesting results. It's certainly something I will use again and again.