artfully distressed

pictures of what I create and the places, people and ideas which inspire my art.

Sunday, 27 January 2013

Silk paper making

 
Well, it's a great time of year to be a crafter, gives me an excuse to stay indoors when its cold and snowing. I'm glad the last snow has all gone here after it rained last night. It was really strange at work on friday night in the early hours of the morning watching it snow, then rain, then snow, then rain again. Make your mind up! Unfortunately, although the rain melted quite a lot of the snow that meant it was really slippery in the morning. I have to say I love the snow - on fields and trees - just not on the roads. My other half has had 1 snow day already when it was too bad to risk driving. I'm lucky enough to live not too far from work. Now that the snow has gone I have been out bulb spotting in the garden. I planted crocus and fritillary bulbs in the lawn as an experiment and I can just see them coming up so can't wait to see that little show of colour.
 
I thought I would share some of my work with silk paper which I started last year. I learnt how to make silk paper before christmas at a local community craft group. We used both the dry iron method and the wet (wallpaper paste) method and both gave fab results. I used the dry method to make a journal cover for my textile journal. Here's a close up showing the detail:
 

and the whole cover:

 
There are pieces of dried rose petals and lavender embedded in the paper with various thin threads, angelina fibres, flower details from net curtains and silver skeleton leaves.
I loved the dry method because it was so quick to do and not at all messy. Once you have made your layer of silk fibres and any embellishments on baking parchment you spray it with water (or a water based ink, I used antique gold colour spray) to activate the gum in the fibres, place another sheet of baking parchment over the top and iron it.
 
I stamped on the paper with a large flower stamp in gold ink to add more interest and mounted the paper on iron on vilene to stabilise it. To make sure all the embellishments stayed put within the paper I used free machine embroidery. I first outlined the skeleton leaves in silver and the flowers in gold. Then I went over the rest of the paper just doing loops. I started off with purple thread (bottom left corner) but when the bobbin thread ran out I thought I'd continue in cream and I love the effect this gives just having one section in purple.  
 
In class I tried lots of different colours and embellishments and I've put all these in my journal to inspire future ideas.


I used the wet method with wallpaper paste to make a background for an 8x8 inch summer inspired piece for a challenge set by a textile group I belong to. The poppies were inspired by a piece in stitch magazine but I've used different techniques to make my picture. 
 
 
The silk tops used for the wet method have a lovely sheen to them so although its more messy and takes longer I really love this method. I don't think its easy to see on the photo but using netting also gives a slight texture to the finished piece from the pattern of the netting. I incorporated lots of threads of various colours into the paper to give the background and once again mounted on vilene and secured everything with free machine embroidery. Then I hand stitched on the lovely ribbon with leaves all along it and the poppies which are made of 2 colours of cotton.  I particularly love the poppy stalks which are recycled bag handles from brown carrier bags couched on by hand.
 
 
If you haven't tried silk paper before its great fun and you can get some very interesting results. It's certainly something I will use again and again.


Thursday, 13 September 2012

Summer spent in the garden

Well it's been a while since I posted, erm okay, a really really long time! So what have I been up to? Well, it was my 30th birthday and I had a garden party (although it was so cold the 'garden' part didn't really take off). Lovely day though.


And most of my spare time over the summer was spent in the garden. So that's my excuse for not sharing anything crafty. It's been a busy summer. Here's some evidence if you don't believe me! Ha ha.

This greenhouse was a birthday present from my other half, Martin, and came in handy for growing lots of flowers from seed and then for my veggies. I dug two large veggie plots in the garden too. I've grown tomatoes, cucumbers, radish, lettuce, green peppers, courgettes, carrots and parsnips (which I am hoping will be ready in time for christmas day, yum!).


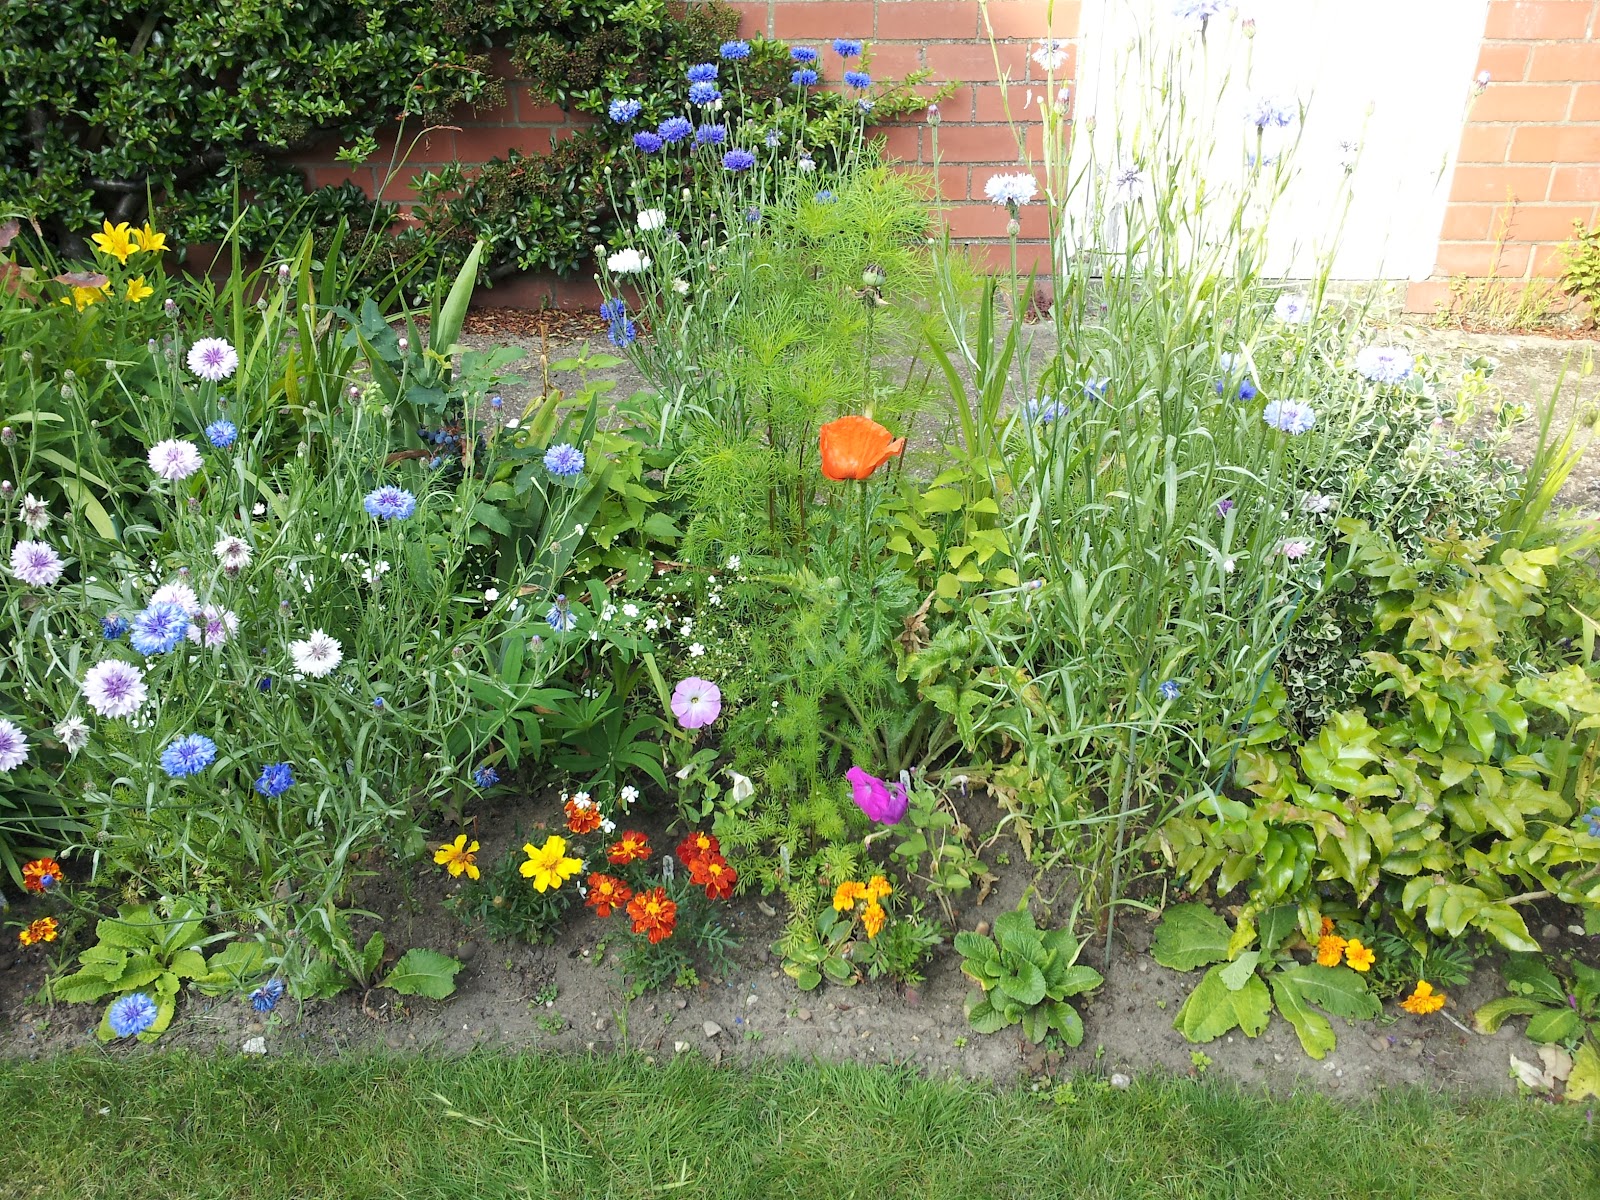
And these are my flower borders which had been neglected by the previous tenants for a few years so they were pretty much a jungle of weeds before I started. Prettier now...


As the spring bulbs are starting to come through I definetly need to get outside and weed and have a general tidy but it will be really exciting next year to see how much of this year's hard work pays off next season too. And there is plenty more garden left that I didn't even manage to get round to this year. A lovely job for the winter months to try and plan what to grow.
 
Anyway, back to crafting....I have actually been making things, just havent got around to blogging. Here is something I finished a few weeks ago and just found a use for...
 
 
It's a stitched journal cover made up of scraps of fabric and ribbons and has loads of hand and machine stitching, beads and buttons on it. This is a project inspired by Christine who leads a local craft group that I have started going to at North Hykeham Memorial Hall. The projects are mainly textile based but everyone is at different stages or trying different things and Christine is there to help and encourage. Tomorrow those that want to will be able to learn silk paper making - can't wait.  


I decided to use this as a book to write in my favourite quotes. Here are the first two pages done. They are not heavily decorated, mainly it will just be the quotes but I thought it would be fun to add a little stamping.
 
'Shoot for the moon, even if you miss you will land amongst the stars.' 

'No one can make you feel inferior without your permission.'
 
Hope you liked my post today, thanks for reading.


Monday, 21 May 2012

Indigo Blu samples

A couple of cards I made last week for show samples, hope Kay likes them...

Collecting Flowers


Stamps used (shop here):
Collecting Flowers, Take The Time, Sarah's Choice (text stamp), Music Hall (swirl)

I didn't use all of the 'Collecting Flowers' stamp here, I wiped the ink off the part I didn't want to give more room for the sentiment. This main image is stamped in archival ink and coloured using various distress inks by swiping them onto a craft mat and picking up colour with a wet paint brush. The sentiment is stamped in FlitterGlu and then I have applied 'Yorkshire Dales' Mega-Flake (both available from Indigo Blu). Lastly the swirl and text stamp were stamped with vintage photo and bundled sage distress inks.

Write soon


Stamps used (shop here):
Circus alphabet , Take The Time

I stamped the whole alphabet and all the numbers from the 'Circus Alphabet' stamp plate using Faded Jeans distress ink to make a background. Then on a seperate piece of card I stamped the cogs and the 'write soon' sentiment from the 'Take The Time' stamp set using weathered wood distress ink. The hand was stamped in black archival ink and masked and then the pen nibs were stamped in stormy sky distress ink. I tore around the images and inked the torn edges with faded jeans distress ink.


Tuesday, 15 May 2012

Indigo Blu book of stamps


A while ago I set myself the task of stamping each and every one of my Indigo Blu stamps into a cheap spiral bound sketch pad so that I had a quick, easy reference guide to which stamps belonged to which plate. As I was stamping I found seeing the images on the page made it easier to visualise ideas for projects using the stamps. I decided to decorate the cover of the book just for fun and that I would then take the book with me wherever I go so that I can always leaf through and get ideas. For me, decorating the cover was a daunting prospect as by that point I had already stamped inside and I was a bit hesitant to start slapping paint on the cover in case it went horribly wrong. I'm sure many people can relate! Anyhow, I got over my nerves, got out the paintbrush and you can see the result above. I'm quite pleased with it overall.

Here's what I did:

As the sketchpad cover had a glossy finish
and was dark blue and yellow I first applied a
base coat of gesso and white acrylic


Next I got out a few colours of acrylic paint and
just liberally painted the cover in random patterns.
While the paint was drying I used a scrunched 
wet wipe to remove some of the colour and give
 a bit more texture to the finish.


I stamped some of my favourite Indigo Blu images 
onto a large tissue using archival ink, tore or cut around
the images and peeled away the bottom layer so that
 the tissue was just one sheet thick. Then I started to
lay the images onto the cover.


Using a brush I applied matte medum to an area
approximately the size of the image, laid the tissue
over the top and then painted on more matte medium
 to seal. The tissues go almost transparent.


I kept going until I had filled the whole cover and 
left it to dry then I applied another coat of matte
medium. Finally I added a title and rubbed Inka Gold
(in silver) around the edges.


Inside the book:


A useful project but good fun and I got over my fear about decorating the book cover!

Thursday, 10 May 2012

More Pan Pastel fun and the new Indigo Blu sewing plate...

I've just shared these two cards on the Indigo Blu blog as I used the new 'Sewing Mends the Soul' stamp plate. Check out the blog for full details of how I made the cards and loads of other inpiration for Indigo Blu stamps. I had great fun creating these cards last night and practising with my Pan Pastels. I also found my Pan Pastel colour boards (see post below) really useful for picking which colour to use. So that's great they are not just for decoration!

For this card I used Magenta Tint Pan Pastel to colour the
edges of the card that I stamped on. I love how easy it is 
to get smooth, even coverage. (It is actually more pink in
'real life' honestly, the camera doesn't do it justice really).  


On this second card I used Turquoise Pan Pastel and created
a background with the thimbles and tape measure images from
the sewing plate by first applying an even coverage of Pan
Pastel, then stamping with versamark and carefully adding
more of the colour over the top. The versamark picks up more
of the Pan Pastel colour so these areas are darker. Really easy
background. Just 'set' the image with cheap hairspray.


Finally here's a birthday card I made with a Pan Pastel background using a mask. Basically a larger version of the sample pieces I made for my colour boards. Tim Holtz butterfly stamps and the Happy Birthday is from the Indigo Blu stamp 'Aloysius / Happy Birthday' which as well as the sentiment has a lovely teddy bear image. The silver strip is double sided tape covered with Sheffield Steel Mega Flake from Indigo Blu.


Wednesday, 2 May 2012

WOYWW 2/5/12

It's wednesday so it must be time to share what's on my desk today. To have a nosy at some other desks join the fun at Julia's blog here. I have been playing with Pan Pastels this week, yummy! I want to get to know how to use them and so was practising a technique that Lin Brown uses a lot, (check out her blog for loads of great inspiration at http://yoursartfully.blogspot.co.uk).


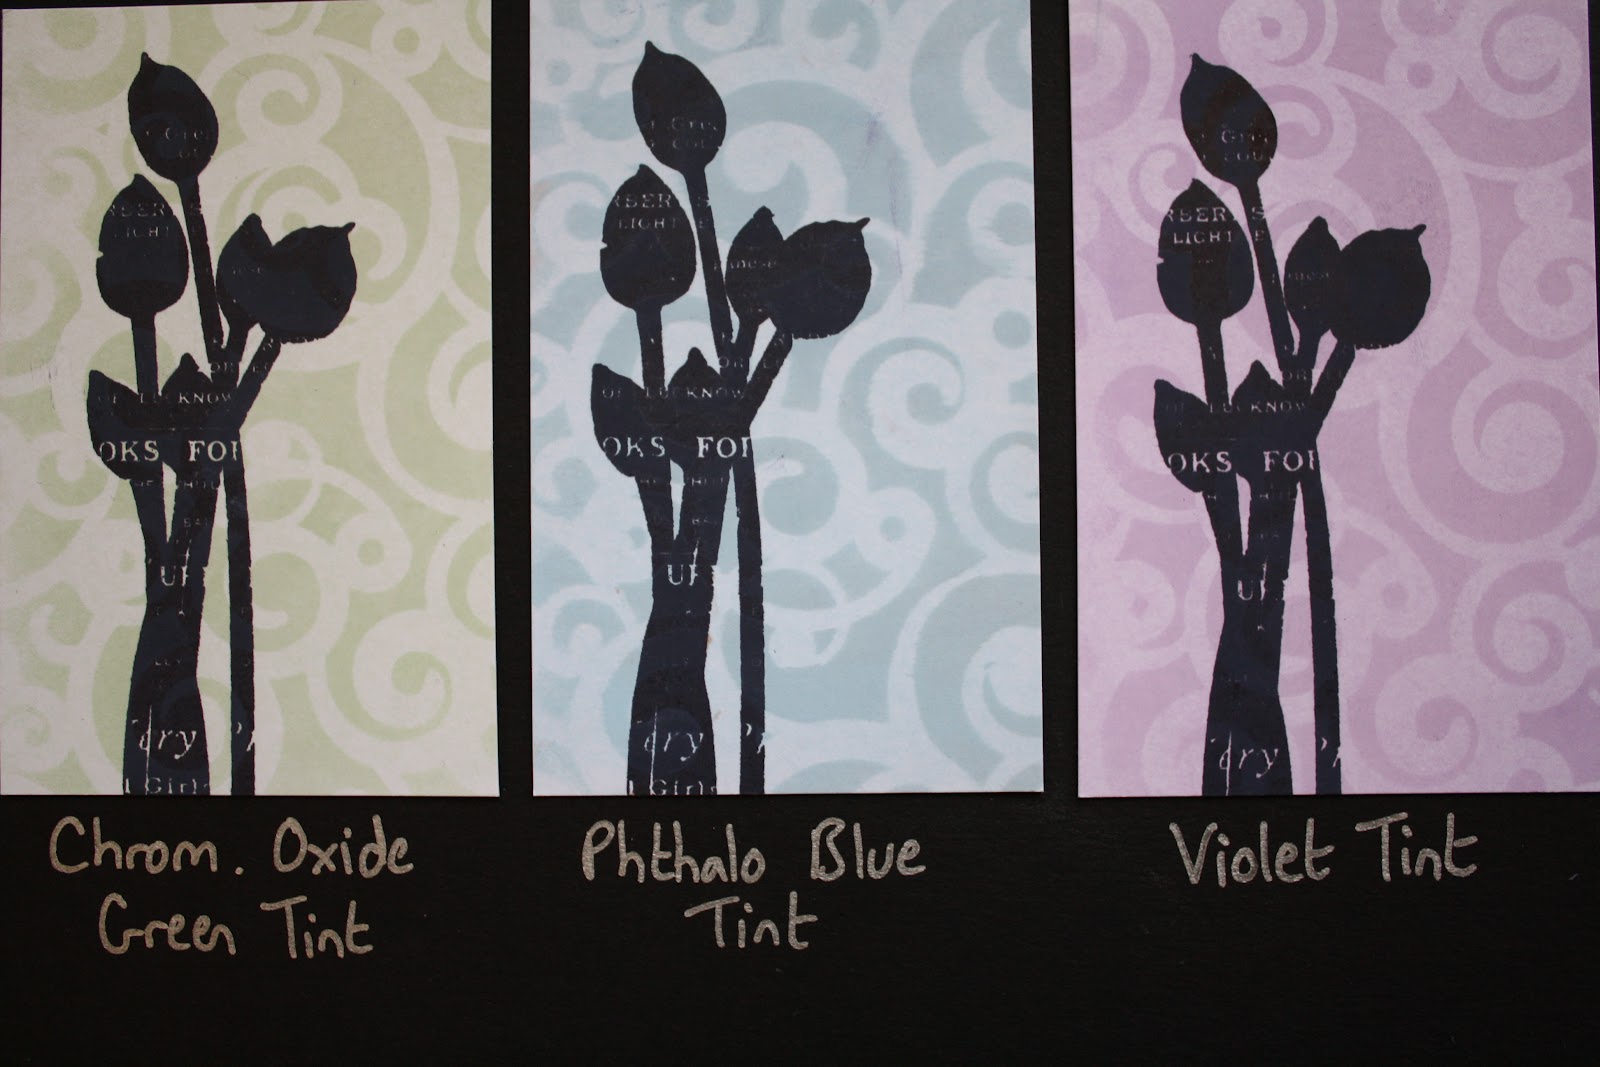
Basically you put a layer of pan pastel on to your smooth card using a sponge and then dab versamark through a mask before putting more pan pastel of the same colour over the top. The colour will come out darker where the versamark is so it gives a really nice effect. Spray with hairspray to fix and stamp over the top. I used archival ink and the stamp is from a paperartsy hot picks plate. I have 12 colours of Pan Pastel at the moment so I decided to make these sample boards so that I could see how all the colours look using this technique. I think my favourites at the moment are the first three here...


I really like them all though, might save up for some more bold colours like orange, red and yellow.


Tuesday, 1 May 2012

More Creative Chemistry 101 tags

Hope everyone had a fab easter. I've had a busy few weeks at work (fire brigade) and in the garden when it hasn't been raining. I have also been to visit my brother and sister-in-law near Preston and me and Martin spent a day in Scarborough the weekend before last and although, yes, it rained, we had a fabulous time as always.
Scarborough


So, not so much crafting done the last few weeks hence the absence from the blog but I'm determined to make up for lost crafty time and get loads done this week.

I thought I'd share some more of the tags I've made using the techniques from Tim Holtz's online class.

Day 3 using archival and alcohol inks


Day 4 using re-inkers


I've also been playing with Pan Pastels. Something to share soon I hope.